Tuesday, May 29, 2012

Zest Up the Chocolate

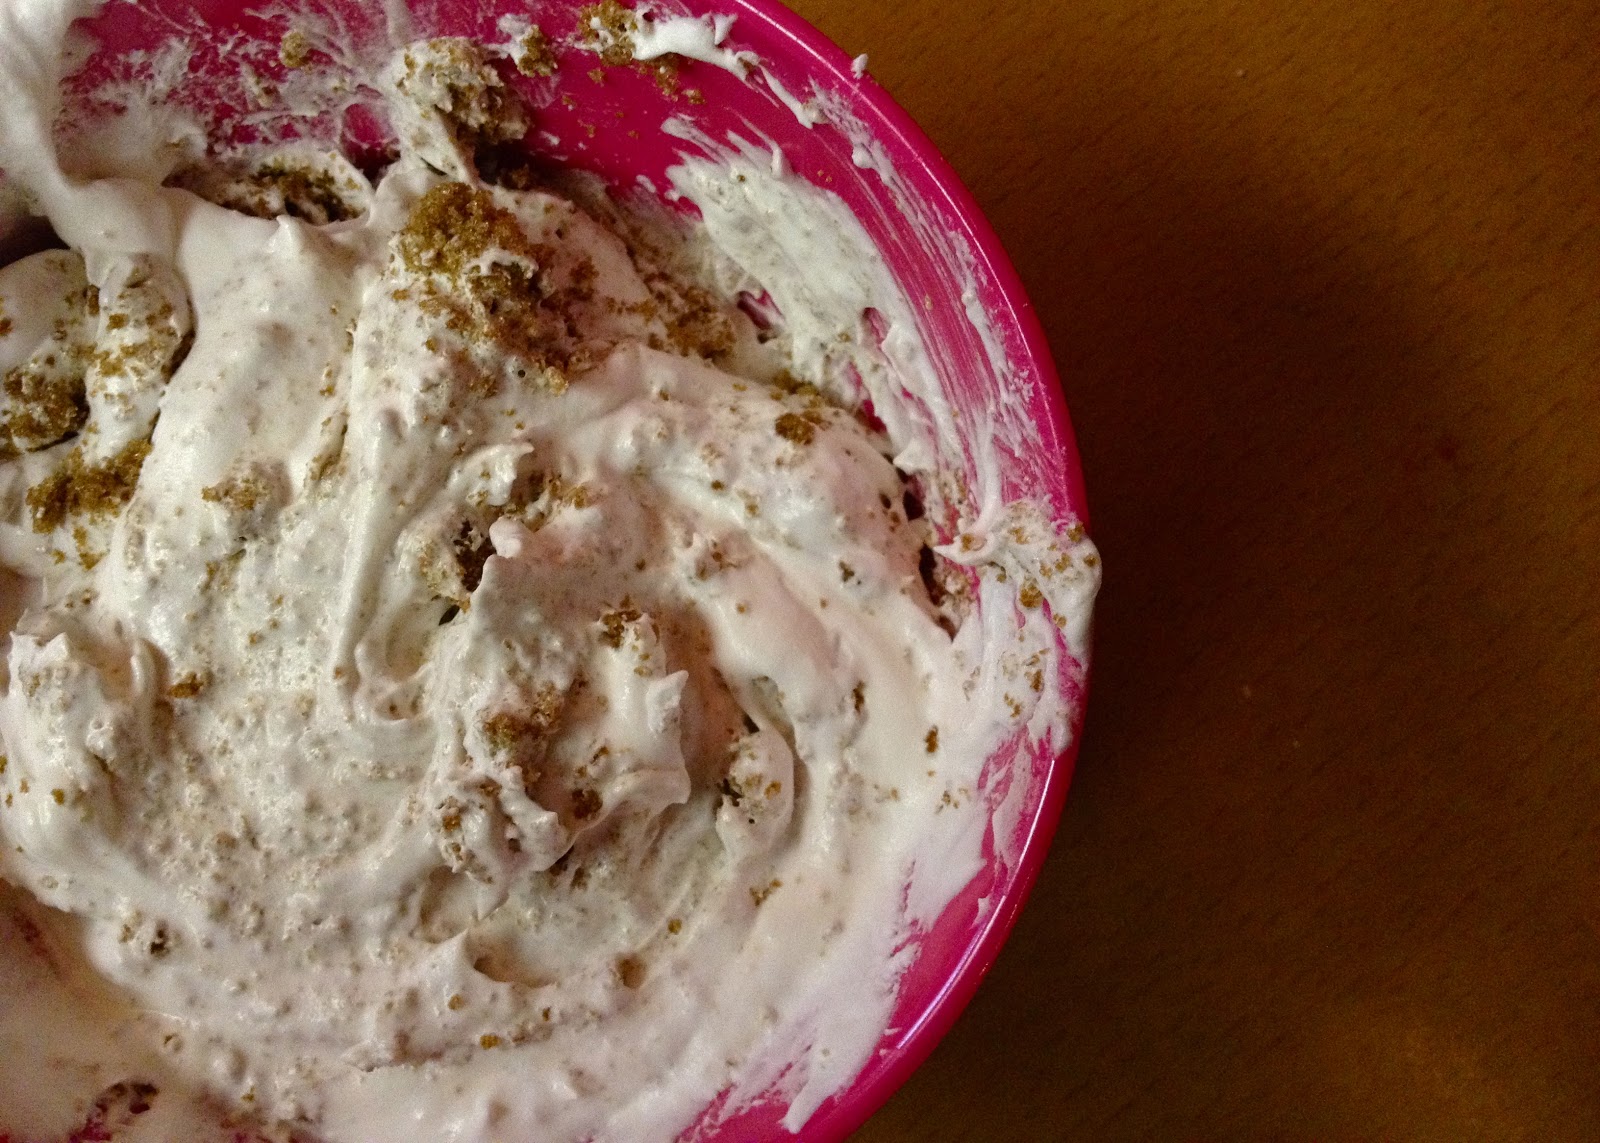
So first I want to just apologize for not blogging in awhile. College and real life got in the way! But no worries to all my amazing readers because after a twenty-minute driving slash contemplative session, I decided to put a twist on a classic! So it has been a pretty slow Tuesday; just one of those days. But I figured since I had so much free time, why not and bake something? It has been awhile too so why not right? Now I'm not sure if I've mentioned it yet, but I'm a hardcore chocaholic. But ironically, I actually don't like eating chocolate cake that much because in my opinion, it's not smooth enough! But I will eat a chocolate cake if the frosting and toppings are crazy good. So this is exactly what I decided to bake. How about some orange-infused dark chocolate cupcakes with whipped cream topping and a generous sprinkle of chocolate wafer bits and orange zest? Yup, we're putting the zest in chocolate!


Ingredients

  • A box of chocolate cake mix (or you could do it from scratch; I used cake mix to save time and for my mother's kitchen's sake)
  • Three eggs
  • 1/2 cup of oil
  • 1/3 cup of milk
  • 1/3 cup of freshly squeezed orange juice (or bought with no pulp)
  • Whipped cream (I used store bought but you can certainly make it yourself by whipping together heavy cream, powdered sugar, and vanilla extract)
  • One full ripe orange
  • Chocolate wafers


Procedures

  1. Preheat the oven to 350 degrees Fahrenheit and make sure your cupcake wrappers are prepared in advance inside the cupcake pan.
  2. Wet ingredients: crack and beat three eggs then add the oil, milk, and orange juice. Blend everything together well. The orange juice is what's going to add that zesty flavor to the chocolate mix.
  3. Next, add in your dry ingredients slowly. In my case, I just slowly added the cake mix in and kept on mixing until everything was blended in nice and thoroughly.
  4. Poor the mixture into eat cupcake cup about 2/3 of the way up so that when you bake them, they do not overflow too excessively. Bake for about 22-25 minutes!
  5. While you wait for your cupcakes to finish baking, you can prepare your toppings!
    • For the chocolate wafer bits, just put chocolate wafers into a plastic bag and smash them until everything is course and fine.
    • For the orange zest, just zest up one full orange (Tip: Before you squeeze your orange juice, zest the same orange first in advance to save oranges and money!)
    • Put the whipped cream into a plastic-lock bag and squeeze all of the contents into one corner. When you're ready to frost the cupcakes, just snip the end of the bag and you have yourself a quick and easy pastry bag!
  6. After your cupcakes are finished baking, pull them out and let them cool. 
  7. Now the fun part can commence: whip those cupcakes and sprinkle a healthy dose of chocolate wafer bits and orange zest for a colorful and crunchy dessert!

I actually didn't frost all of my cupcakes because I left one or two of them for me to taste. When I was younger, I never really liked the idea of something fruity mixed into my chocolate. I only liked pure chocolate and nothing else. But as I grew older, I somehow developed a palette for fruit and chocolate whether it is fruity-infused chocolate cakes, chocolate covered dried fruits, or even simple Raisinets. So this orange-infused cake was actually quite delicious! There wasn't a powerful orangey burst in your mouth of course, but the hint of orange was just enough to give the classic chocolate cake something out of the ordinary. The whipped cream was light, the wafers added a crunch all together and the orange zest was definitely a great way to add some zest overall. The cooking time wasn't very long at all. For something that only took about half an hour at the most, it looks good enough to EAT!

I definitely went a bit out of my zone for this time around. I'm not the most skilled baker in the world, but I do like to try making food visually appealing and tastefully amazing the best that I can. I actually had my first orange-chocolate twist at a candy shop here in Boston called Truffles and yes, it is one of the few fruit-and-chocolate blends I loved! 
What is your favorite fruit-and-chocolate goodie?

Wednesday, February 22, 2012

{Travel Size It} Sontuoso Illy Issimo


What does a long weekend mean to me? What else than an opportunity to travel? During the President's Day weekend, I had the privilege to attend an amazing opportunity. I am a member of the executive board of Boston University's chapter of the National Society of Minorities in Hospitality. To make a description of an amazing networking, professionalism developing, all-kinds-of-fun packing organization short, we plan and attend site visits to a vast array of hospitality brands, social events, community service opportunities, as well as major annual conferences. Recently, I just returned from NSMH's Nationals Conference which was held at the Hyatt Regency in Crystal City near Washington D.C. It was one of the greatest experiences of my life!...But I'll leave it at that, because I want to get to the munchies!
So across the street was the Renaissance and I couldn't help but notice a sign that says "Illy". Illy Issimo cafe isn't something new to me; we serve the coffee at Sweet Cupcakes! But I've never seen a Illy Issimo coffee shop! For those who are unfamiliar, it is basically a luxurious brand of Italian coffee where the packaging is different; "in steel containers pressurized with inert gas rather than air."A friend of mine gave it great remarks so as you all know, I just had to see it for myself. Turns out, the name of the cafe was Espressamente Illy. Walk into a contemporary haven of bright whites, bold reds, and splashes of black. As you greet the knowledgeable barista, you can't avoid the sleek-silver coffee and espresso machines ready to be handled with cafe expertise. Now, I've had Illy Italian drip coffee but I have never had their specialties; espressos, lattes, macchiatos, freddos you name it. My friend got himself a single espresso with a dollop of whipped cream on top; an Espresso con Panna! Served in a mini-espresso coffee cup, just the right amount of bitterness and earthiness to have just about anyone wired for a fully packed day. For me, I wanted to try something that was out of the box; so I went for a single Greco All'Italiana. If the exclusive Illy freddo cup wasn't enough to catch your attention, then the perfect balance between ice, milk, and espresso had to do the trick. You even have a nice dusting of chocolate powder on top! It had the chill of a cappuccino and the energy-inducing power a cold espresso treat should have. I just couldn't get over the freddo glass; how neat! But just to note, you don't want to miss the classy goods the cafe has to offer. There were desserts that resembled a chocolate cake cylinder elegantly garnished with a long chocolate shaving and even pies! Unfortunately, I had to abstain myself but I promise you all, I won't be holding back next time. But as great as the experience for the palette was, there was much more to appreciate.

If it isn't food, then it's art that has me marveling at any coffee shop. It's ordinary for a coffee brand to have art incorporated into its mission and values; almost every one I've been to has showcased a local artist of some sort. Illy's art project is derived from an ancient Greek philosophy called kalokagathia; "what is good cannot but be beautiful, what is beautiful can only be good." When applied to the Illy experience, "taste and beauty are inseparable". So Illy has chosen creativity to express its values and philosophy, "for a complete coffee experience involving the eye and the mind." As you walk around Espressamente Illy, you will notice a series of cups all designed by contemporary artists, all of which are miniature versions of reputable pieces and wholly contribute to the Illy Art Collection. Illy has also given artists the opportunity to design onto their cans, which they call the designer coffee cans. I find it absolutely unique; it adds a different perspective for coffee drinkers. The art on all of these coffee cups just added a cultural element to a very modern place.

It was like a brief moment of perfect pleasure. An hour out of a busy day to just enjoy a small glass of espresso and marvel at each and every single piece of art displayed. And to discover and understand Illy's connection between taste, the cafe experience, and beauty, the art on the coffee cups, made me feel nothing short of appreciation. I love when art is showcased because it shows an appreciation of culture from not only the people purchasing the coffee but also the brand itself.
I think people just enjoy art for various reasons. But when they are displayed in cafes, it adds a different vibe. Why do you like the art in cafes?

Tuesday, January 31, 2012

Home Edition: Classy in Minutes

I feel like I am on a long-term journey through some rough terrain. I'm like a traveller carrying a huge sack of heavy objects through a world we call college. And in that huge sack are classes, the unlimited amount of work, the commitment to the organizations I am a member of, the constant search for internships, and now juggling all of that with a part-time job. And in that world, there can never be enough twists and turns and ridiculous obstacles to overcome. The one thing that isn't as prevalent anymore is free time. But oddly despite all of that, I absolutely love it! This is something many of us could easily relate to whether it was back in the day or even now. So my friend and I have been planning to create a "culinary masterpiece" for the longest time but finding time between our busy schedules to actually do it was pretty rare. Finally, on a rainy thursday evening, we had the opportunity so we got right to it! Here's our dirty twist on an Italian classic treat.
When you combine a packed schedule with the extreme desire to cook and eat, it only makes sense to find short-cuts. And I must include, short-cuts to cooking and baking does not necessarily mean sacrificing flavor, presentation, and a proud heart at the very least. We decided to make light and creamy tiramisu in minutes: quick, easy, cheap and if you really take the time, still potentially extravagant in aesthetics.
Dirty Tiramisu
Ingredients:
- Cups, glasses, shot glasses etc. (your choice depending on what occasion you are making this for)
- Pack of lady fingers
- Freshly brewed espresso and/or coffee
- Whipped cream (we used store-bought whipped cream, but you can definitely make it yourself)
- Brown sugar
- Classic cocoa powder
....and that is all she wrote.
Procedures
1.) First, brew a pot of fresh, earthy, and hot coffee or espresso and let it cool down afterwards
2.) Soak about 12-15 broken up pieces of lady fingers in the coffee/espresso for about a minute or two
3.) Add about 3-4 tablespoons of pure brown sugar into a bowl or container of whipped cream and mix until the brown sugar is evenly distributed throughout the whipped cream
4.) Now you can start to layer: start with the lady fingers soaked in coffee/espresso at the bottom of your containers then layer the whipped cream mixed with brown sugar on top. Alternate these two until you reach the top of the glass.
(Optional: you could also include a small dusting of cocoa powder to fulfill your chocoholic needs between layers as well but we decided not to.)
Note: If you really want to take your presentation to the next level and create clear, distinct layers, when you are layering the whipped cream, be extra careful that it does not touch the sides of the glass while you are spooning it in because that is what will make your layers more swirly and random.
5.) As a garnish, dust cocoa powder on top of the last layer of whipped cream and a last small dollop of whipped cream on top of that.
6.) Place your glasses into the refrigerator so they cool down a bit and everything comes together nicely.

The short ingredient list and the near lack of work may make people seem a bit skeptical about how good the tiramisu actually tastes. And if it does taste good, how much does it actually taste like a classic tiramisu? But I must say, if you judge your measurements right and experiment, it tastes absolutely delicious and it took less than ten minutes. The use of the brown sugar made the ordinary whipped cream taste a bit more butterscotch-like and combined with coffee--perfection! My friend and I decided to layer the tiramisu into wine glasses which proved to be a bit excessive for a pre-dinner treat. But let's say you are having a small get-together with some friends or maybe even a cocktail party. The ideal way to feed your guests are through small appetizers that are easy to just grab and eat in one bite rather than holding something huge in their hands. For a dessert platter, you could use this simple recipe and layer tiramisu into clear shot glasses or mini plastic cups. It is a small dessert that will not be too heavy on your guests and they would look absolutely cute on a white plate and still keep its class and elegance.

I think the one thing this confirmed for me is the fact that just because dishes have ingredients that are mostly store bought, ready to eat, and can be made in minutes, does not mean that you are sacrificing flavor or class at all. Authentic tiramisu is usually associated with high-end Italian restaurants but you could still have that luxury in the warmth of your own home. And trust me, eating that huge glass during a rainy evening was nothing short of being amazing.

I'm reading this post over again just to proofread and I feel like I sound almost like Sandra Lee from "Semi-Homemade". Her concept is actually a smart one because her dishes still embody the real tastes of a dish that had complete organic ingredients, but it is extremely useful for college students, mothers with children and busy schedules, and in the end, just perfect for anyone out there.
And also, just because you made something so extravagant and luscious in minutes, doesn't mean you have to tell everyone that right? 

Tuesday, December 6, 2011

Home Edition: Pop it

Baking: there's nothing better than a batch full of fresh, warm desserts ready to be devoured, especially ones that are homemade. Unfortunately, seeing that I live in a kitchen-less dorm where even noodle-cookers are banned, I basically never have the opportunity to bake. But Thanksgiving break finally came and needless to say, there's a kitchen with all the baking tools I need! For awhile, my sister and I have been wanting to try making cake pops and finally, we have! So I must admit, we used Betty Crocker cake mix. And though it was our first time making these decadent desserts, it was surprisingly easier than we anticipated. Just to give a quick rundown of the ingredients and step-by-step process.

Ingredients
  • A box of cake mix (and whatever you need through the request on the box, so basically two eggs, water, and oil)
  • A tub of egular vanilla frosting
  • Bags of melting chocolate (we used white chocolate and milk chocolate)
  • Toppings: sprinkles, jimmies, cookie crumbs, chocolate drizzle
  • Lollipop sticks
  • A styrofoam board 
  • Aluminum foil

Steps:
  1. First you have to make the cake like you would regularly. Just follow the ingredients and the steps on the back of the box. If you prefer to make your own cake out of scratch (probably because you have insane amount of culinary expertise or you're just skilled like that), you can certainly do so.
  2. After baking the cake and letting it cool, break the cake up into little crumbs. You can use a food processor, but I personally think it is a lot easier to do with you hands. Plus, you know what they say: your hands are the best tools given to you!
  3. Put in about 2-3 spoonfuls of vanilla frosting. This is what will bind the cake together and help maintain that ball shape. Depending on how much cake you have, the amount of frosting you need will vary. Basically, add frosting at your own risk (of potentially being on a sugar high.)
  4. Form little cake balls! We formed ours to about the size of a tootsie-pop. Make sure you handle them lightly because they are still delicate enough to easily break. 
  5. Gently stick in the lollipops into the center of the cake balls. You will then put them into the aluminum-wrapped styrofoam board standing up so they stay up and out of contact from everything else. Let them cool down and harden a bit in the refrigerator.
  6. In the mean time, you can melt bowls of chocolate for dipping. We used milk chocolate, white chocolate, and also pink chocolate (we put red food coloring into a bowl of white chocolate.) Also, pour your toppings into individual bowls. Basically, you want to set up an assembly line of some sort. 
  7. You can now just dip your cake pops into the chocolate, decorate them with your various toppings, then stick them back into the styrofoam board!
  8. Put them back into the refrigerator to cool down a bit and then eat until your heart's content!
We made exactly forty-two cake pops, half of which we gave to our cousins and the rest we kept for ourselves. I couldn't stop eating them which is kind of sad but I was on break: it's a good enough reason for me to indulge. After making the pops, I became so excited for Christmas to roll. Every year, my sister and I always make some desserts to bring over to our family's houses and what not. But this year, we're going professional: christmas-themed cake pops. What better way to stay festive than to keep the food shouting the holiday cheer? 

Cake Pops: check! Next endeavor? Perhaps brownie pops!  I love trying new things and I'm so glad I finally made these cake pops. If you've made cake pops before, I would love to hear your stories! What kind did you make? How did you decorate them? And for the punch, how did they taste? Also, if you have any other fun suggestions to bake, let me know, because I am always all ears for more creative things to do!