WARNING: Lots of Apples.

About a week and a half ago I entered a giveaway sweepstakes on one of Bitter Sweet Blog's post. The blog is written by Hannah Kaminsky, who is a food photographer, recipe creator, and author of Vegan Desserts: Sumptuous Sweets for Every Season and My Sweet Vegan. Per her request, I commented with my name, email, website, and the type of camera that I use. And in a certain amount of time later, a lucky winner will be drawn to receive a free food photography and styling book. Plate to Pixel: Digital Food Photography & Styling is an insightful book written by the well-known Helene Dujarin. She is an amazing and inspiring food photographer and stylist, having been featured in numerous magazines and cookbooks. I highly recommend going through her portfolio because they truly exhibit realistic features: "natural lighting, seasonal and fresh ingredients." She also has a rewarding winning blog called Tartelette. So this food photography book is her first she has written.
I am only two chapters in, but I can already tell that the book isn't only fit for beginners, but it's also great for bloomers and a useful reference guide, if you will, for even professionals. She slowly builds up from photography basics and camera modes up to actual food photographing and styling. For a while, I used the auto setting on my P&S camera. But my best friend Alex Tran, who is an amazing photographer himself, told me to experiment with the other settings. Helene says the same thing: when you remove yourself from auto settings, you gain "more control over your camera and open the door to greater creative freedom." And that's exactly what I did: I got right to it!
So first I tried experimenting with the Aperture Priority mode. I set the camera to ISO400 for a comfortable amount of light sensitivity. Unfortunately, the range for my camera's f/stops' minimum and maximum is very great. Because I wanted to notice a difference in the depth of fields in my pictures, I took three pictures with three different f/stops: f/3.1, f/5.6, and f/8.0 respectively. So I actually used a Target ottoman as my "table"and draped over a white t-shirt to make it look like a table. And because I wanted to keep my picture constant, I elongated my music stand to recreate a fake tripod. So creative right? Kind of weird I know. The differences here are so subtle but it is particularly noticeable when you contrast the tree branches with the leaves outside the window. Perhaps I need to work on this a little more!


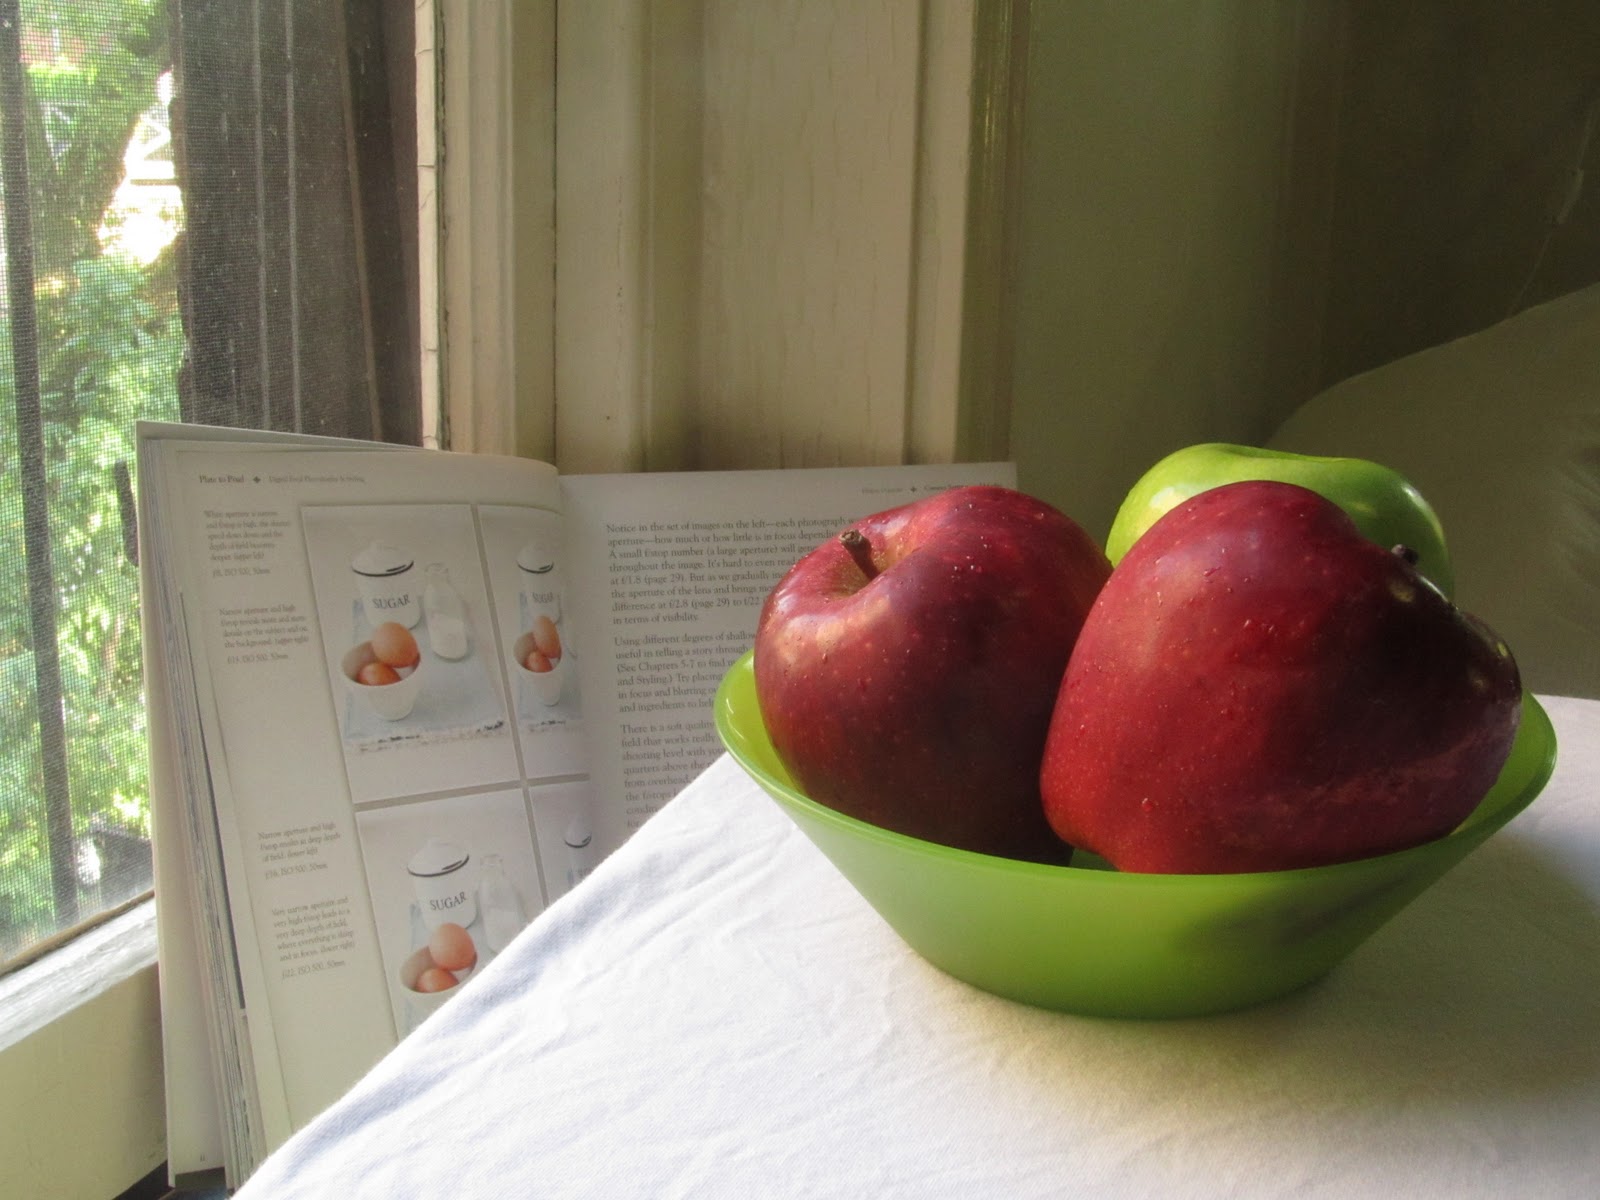
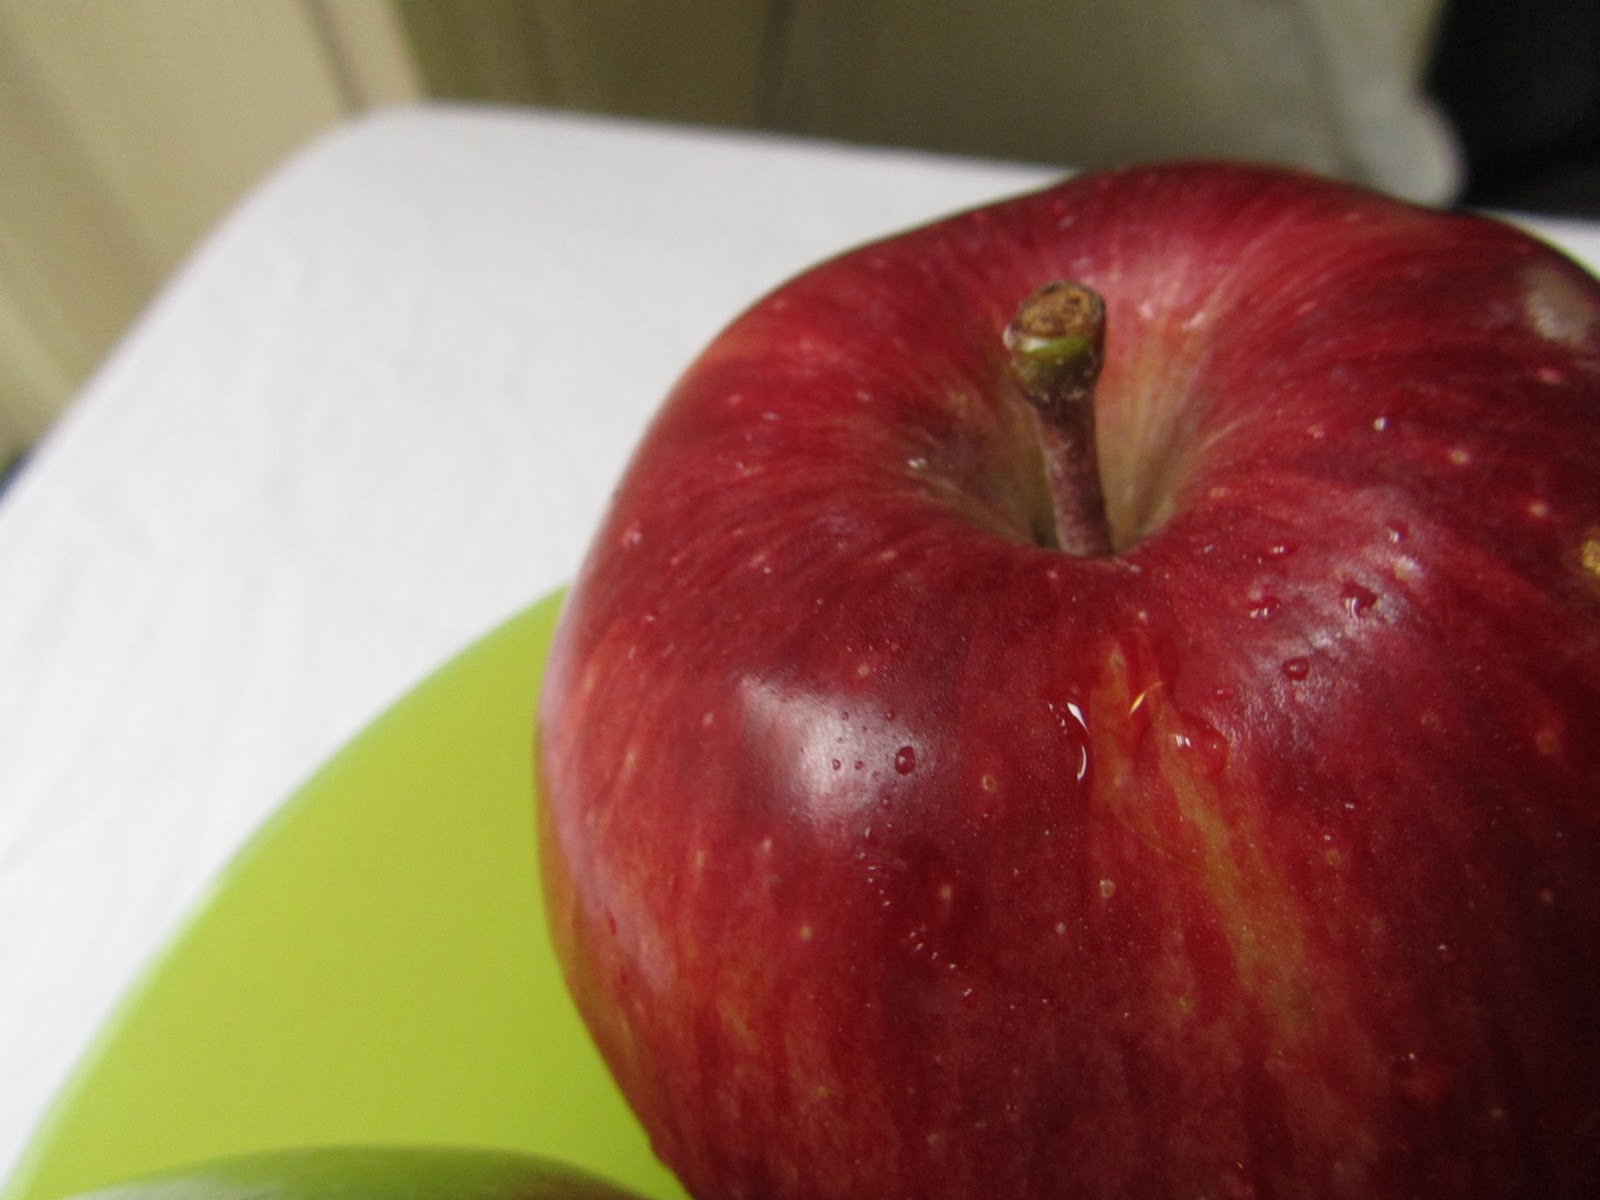
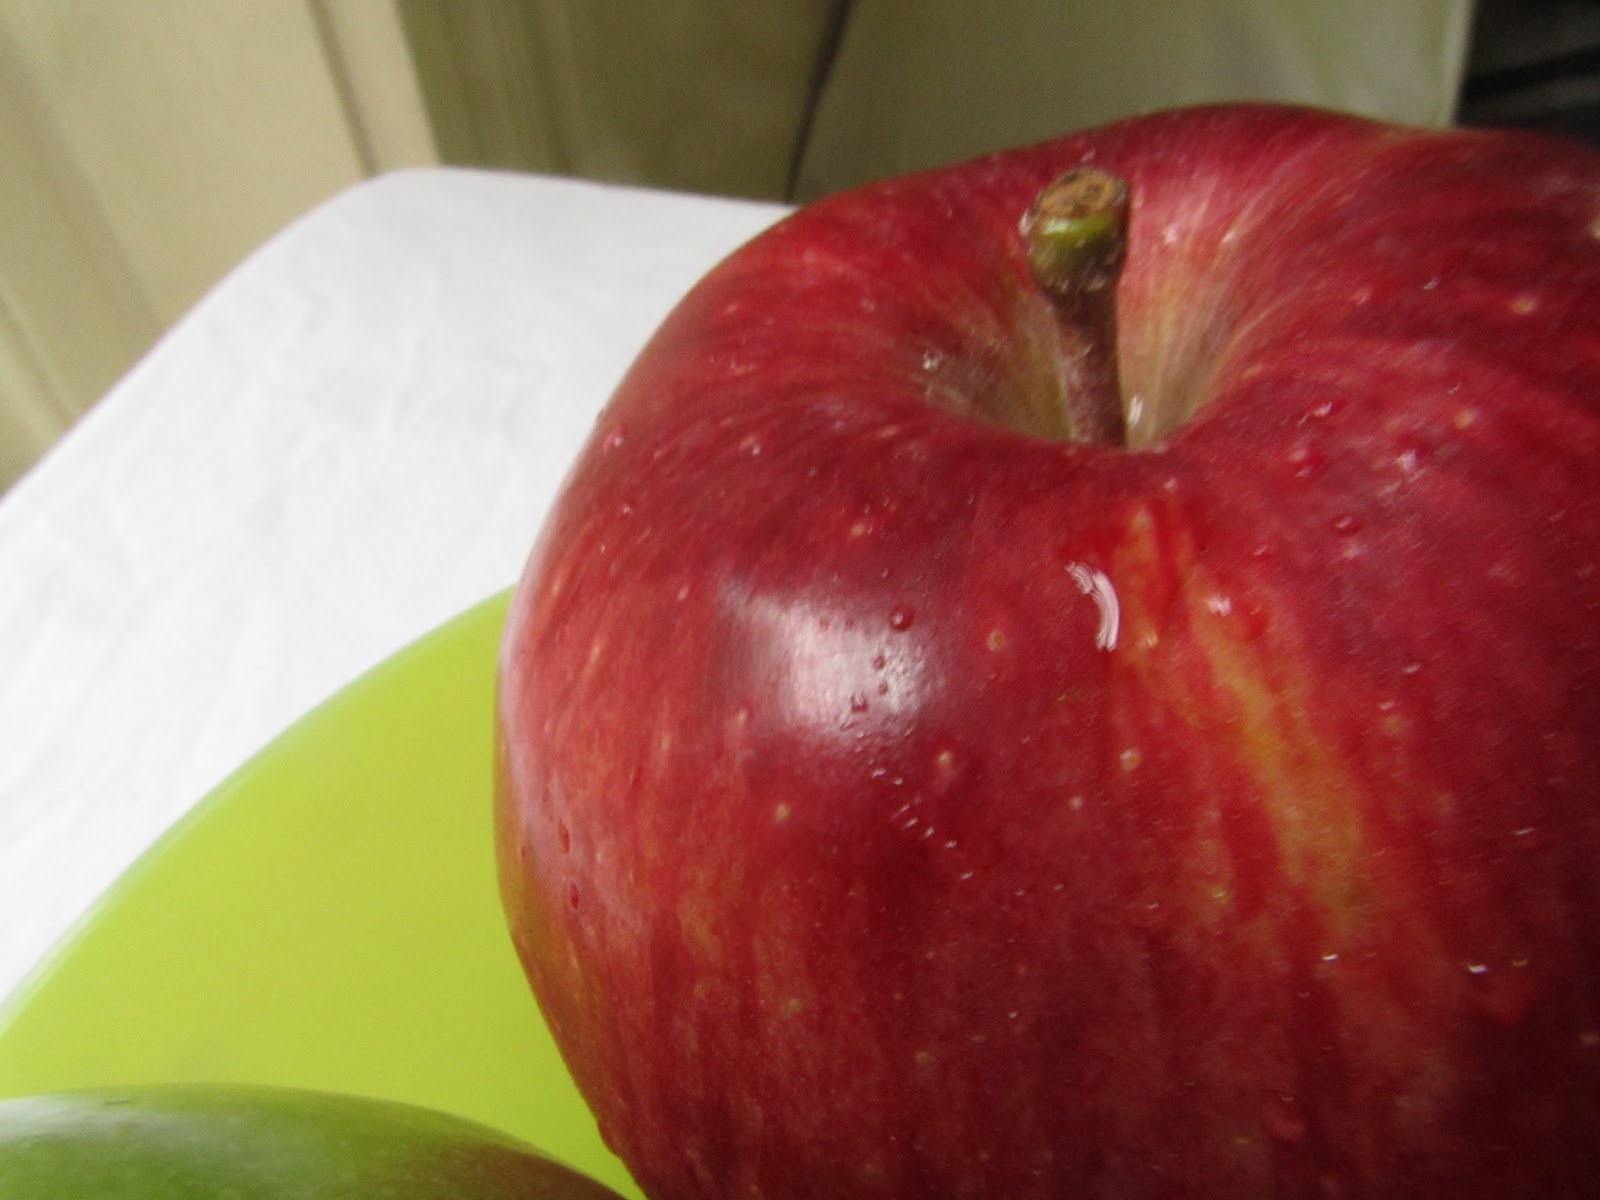


So what did I learn so far? Sometimes, the differences between your photos will be so subtle to the point where it is almost eye-straining to really notice them. But it's so fascinating, because these variances dintinguishes a great photo from a not-so-great one. Don't be fooled now, I took way more photos than the ones posted here. I took a ridiculous amount before deciding which series I wanted to put u[. Helene Dujarin's right: it's all about experimenting--"you can erase and start over." You just have to keep taking photographs until you find one that you really like. There are just so many settings and modes, but once you get the hang of them, you can "develop the story you want to tell."

I just want to say thank you so much to Hannah Kaminsky and Helene Dujardin. Both of you are honestly inspirations for beginners like me. I have never enjoyed doing something so much; I love blogging about food now and just learning about how to photograph any type of food better. I have so much to learn. I'll put this book up to great use! Time for Chapter 3: Natural Light Photography!
Awesome to see that you're really hitting the books and practicing right away! I'll have to watch and see how your photos change over time now. :)
ReplyDelete